Earlier today we announced a huge step forward in AI-led eDiscovery with the industry’s first enterprise-grade agentic solution for fact investigation and document review. We sat down with CEO Eric Friedrichsen and Chief Product, Technology, and Strategy Officer Richard Crum to talk about the news.
https://www.csdisco.com/blog/discos-agentic-ai
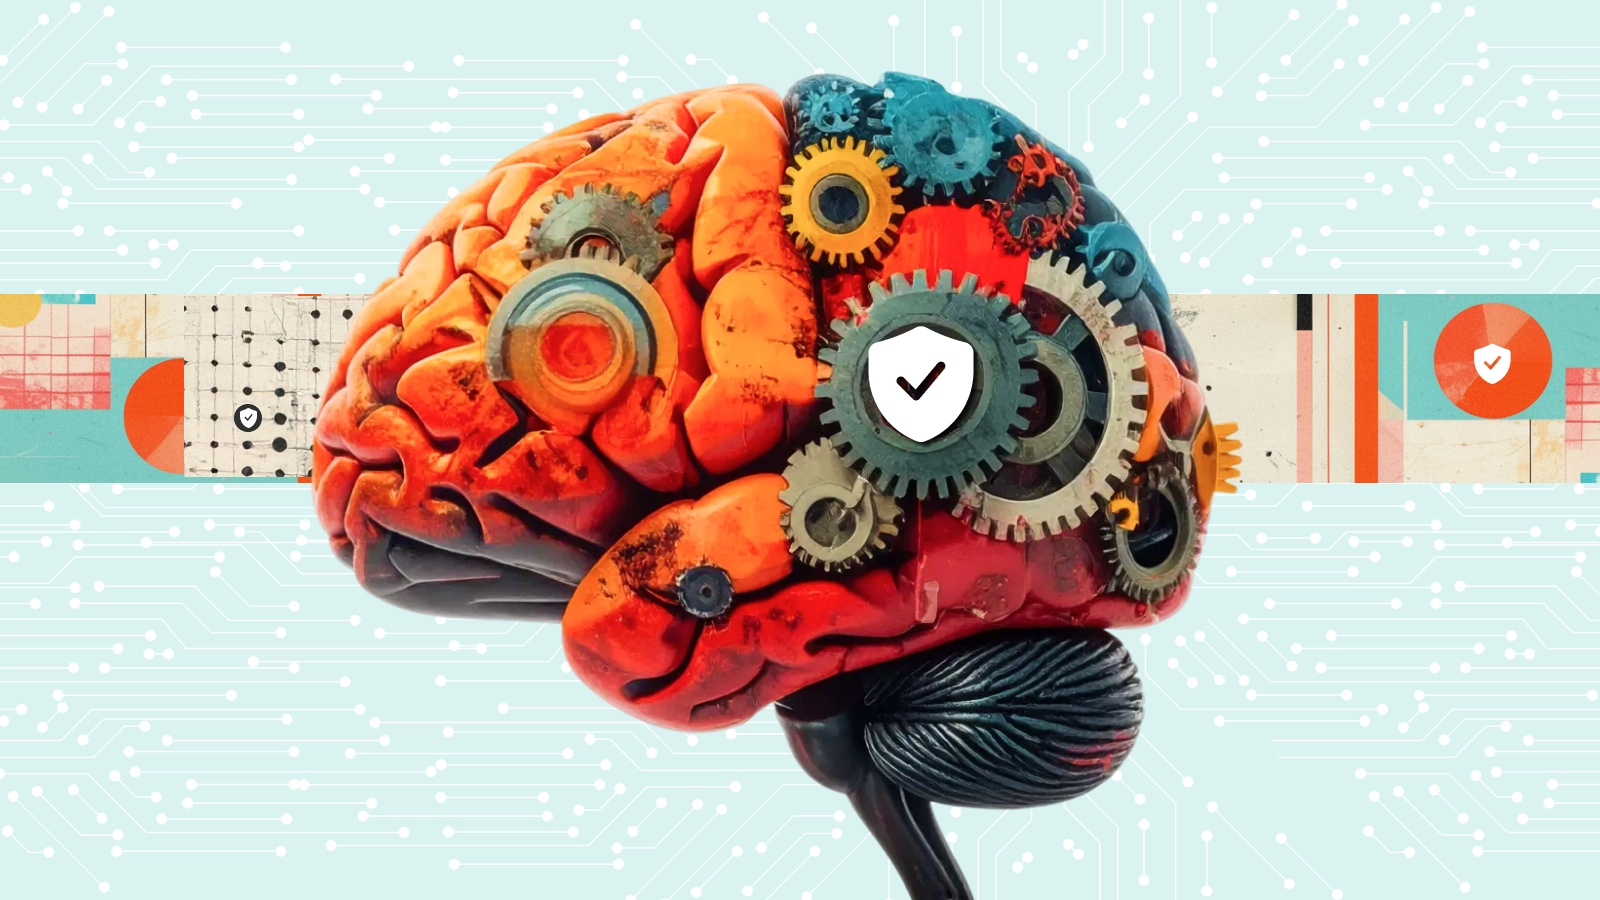
Does your law firm have an AI policy? Let’s build one. Get actionable steps for creating an AI policy that supports data privacy and builds client trust.
https://www.csdisco.com/blog/how-to-build-a-defensible-ai-policy-for-your-law-firm
Track the trends in legal decisions in cases involving AI hallucinations, including court sanctions for fabricated citations and how to build a verification workflow.
https://www.csdisco.com/blog/ai-hallucinations-legal-decisions-trends
Discover how AI transforms early case assessment with dramatic cost reduction, faster insights, and smarter decision-making.
https://www.csdisco.com/blog/how-to-use-ai-for-early-case-assessment
Transform your legal document workflow with AI and create comprehensive document summaries in minutes. Learn the benefits and best practices of using AI in our step-by-step implementation guide.
https://www.csdisco.com/blog/how-to-use-ai-for-legal-document-summaries
Explore the intersection of AI and the legal profession in 2025, from transformative applications in dispute resolution to the challenges of bias, ethics, and AI hallucinations.
https://www.csdisco.com/blog/judgment-day-the-rise-of-artificial-intelligence-in-dispute-resolution
Learn the benefits for in-house legal teams of using generative AI for due diligence, as well as risks, best practices for successful adoption, and an example.
https://www.csdisco.com/blog/generative-ai-for-due-diligence
The DISCO platform brings together our Ediscovery, Cecilia AI, timelines, and deposition management tools at one all-in, competitive price.
https://www.csdisco.com/blog/get-ai-on-every-matter-with-the-disco-platform
Learn the differences between artificial intelligence (AI), generative AI, agentic AI, machine learning and deep learning as they apply to the law.
https://www.csdisco.com/blog/ai-vs-generative-ai-whats-the-difference
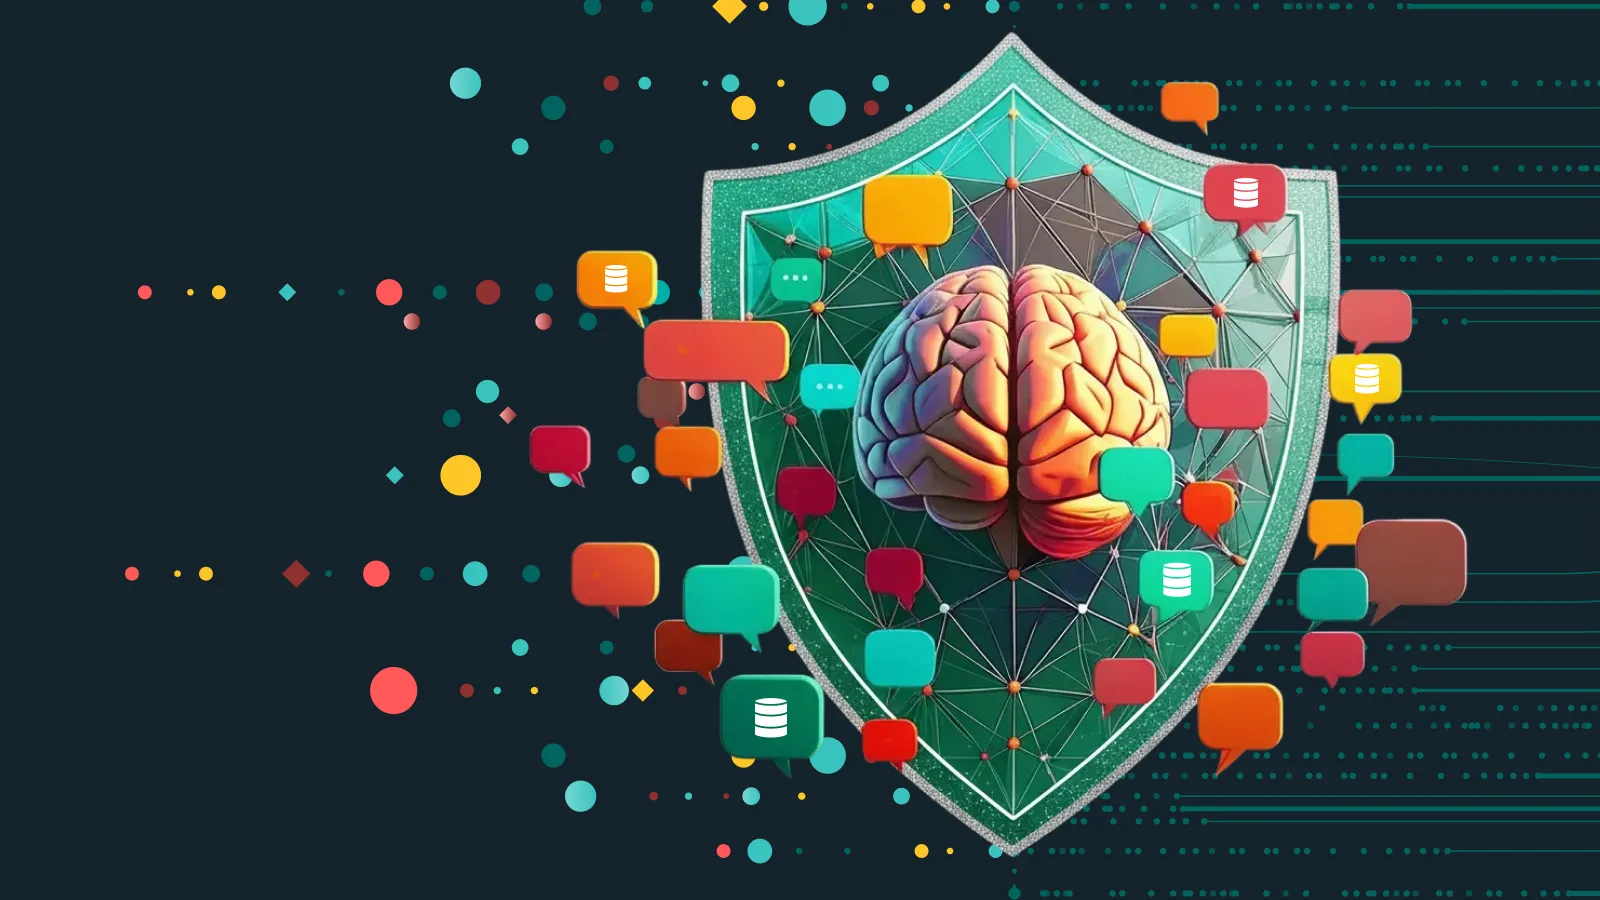
We’ve integrated an autonomous, multi-step reasoning engine directly into Cecilia Q&A – a powerful upgrade that allows Cecilia to think, search, and reason for better fact investigation and document review.
Master defensible GenAI data preservation. Learn how to manage prompts, responses, and metadata across LLMs like ChatGPT, Copilot, and Gemini for legal discovery.
https://www.csdisco.com/blog/defensible-genai-data-preservation-guide


.png)